Wedding shadowbox + vendor review
My husband, Brad, and I got married on March 12, 2016. I planned the wedding myself, and though the weekend was complete perfection, the planning leading up to it was far more stressful than I ever imagined! I had grand plans of printing a wedding book and large portraits to frame for our walls, none of which has happened yet because I didn't want to touch anything related to my wedding for months afterwards.
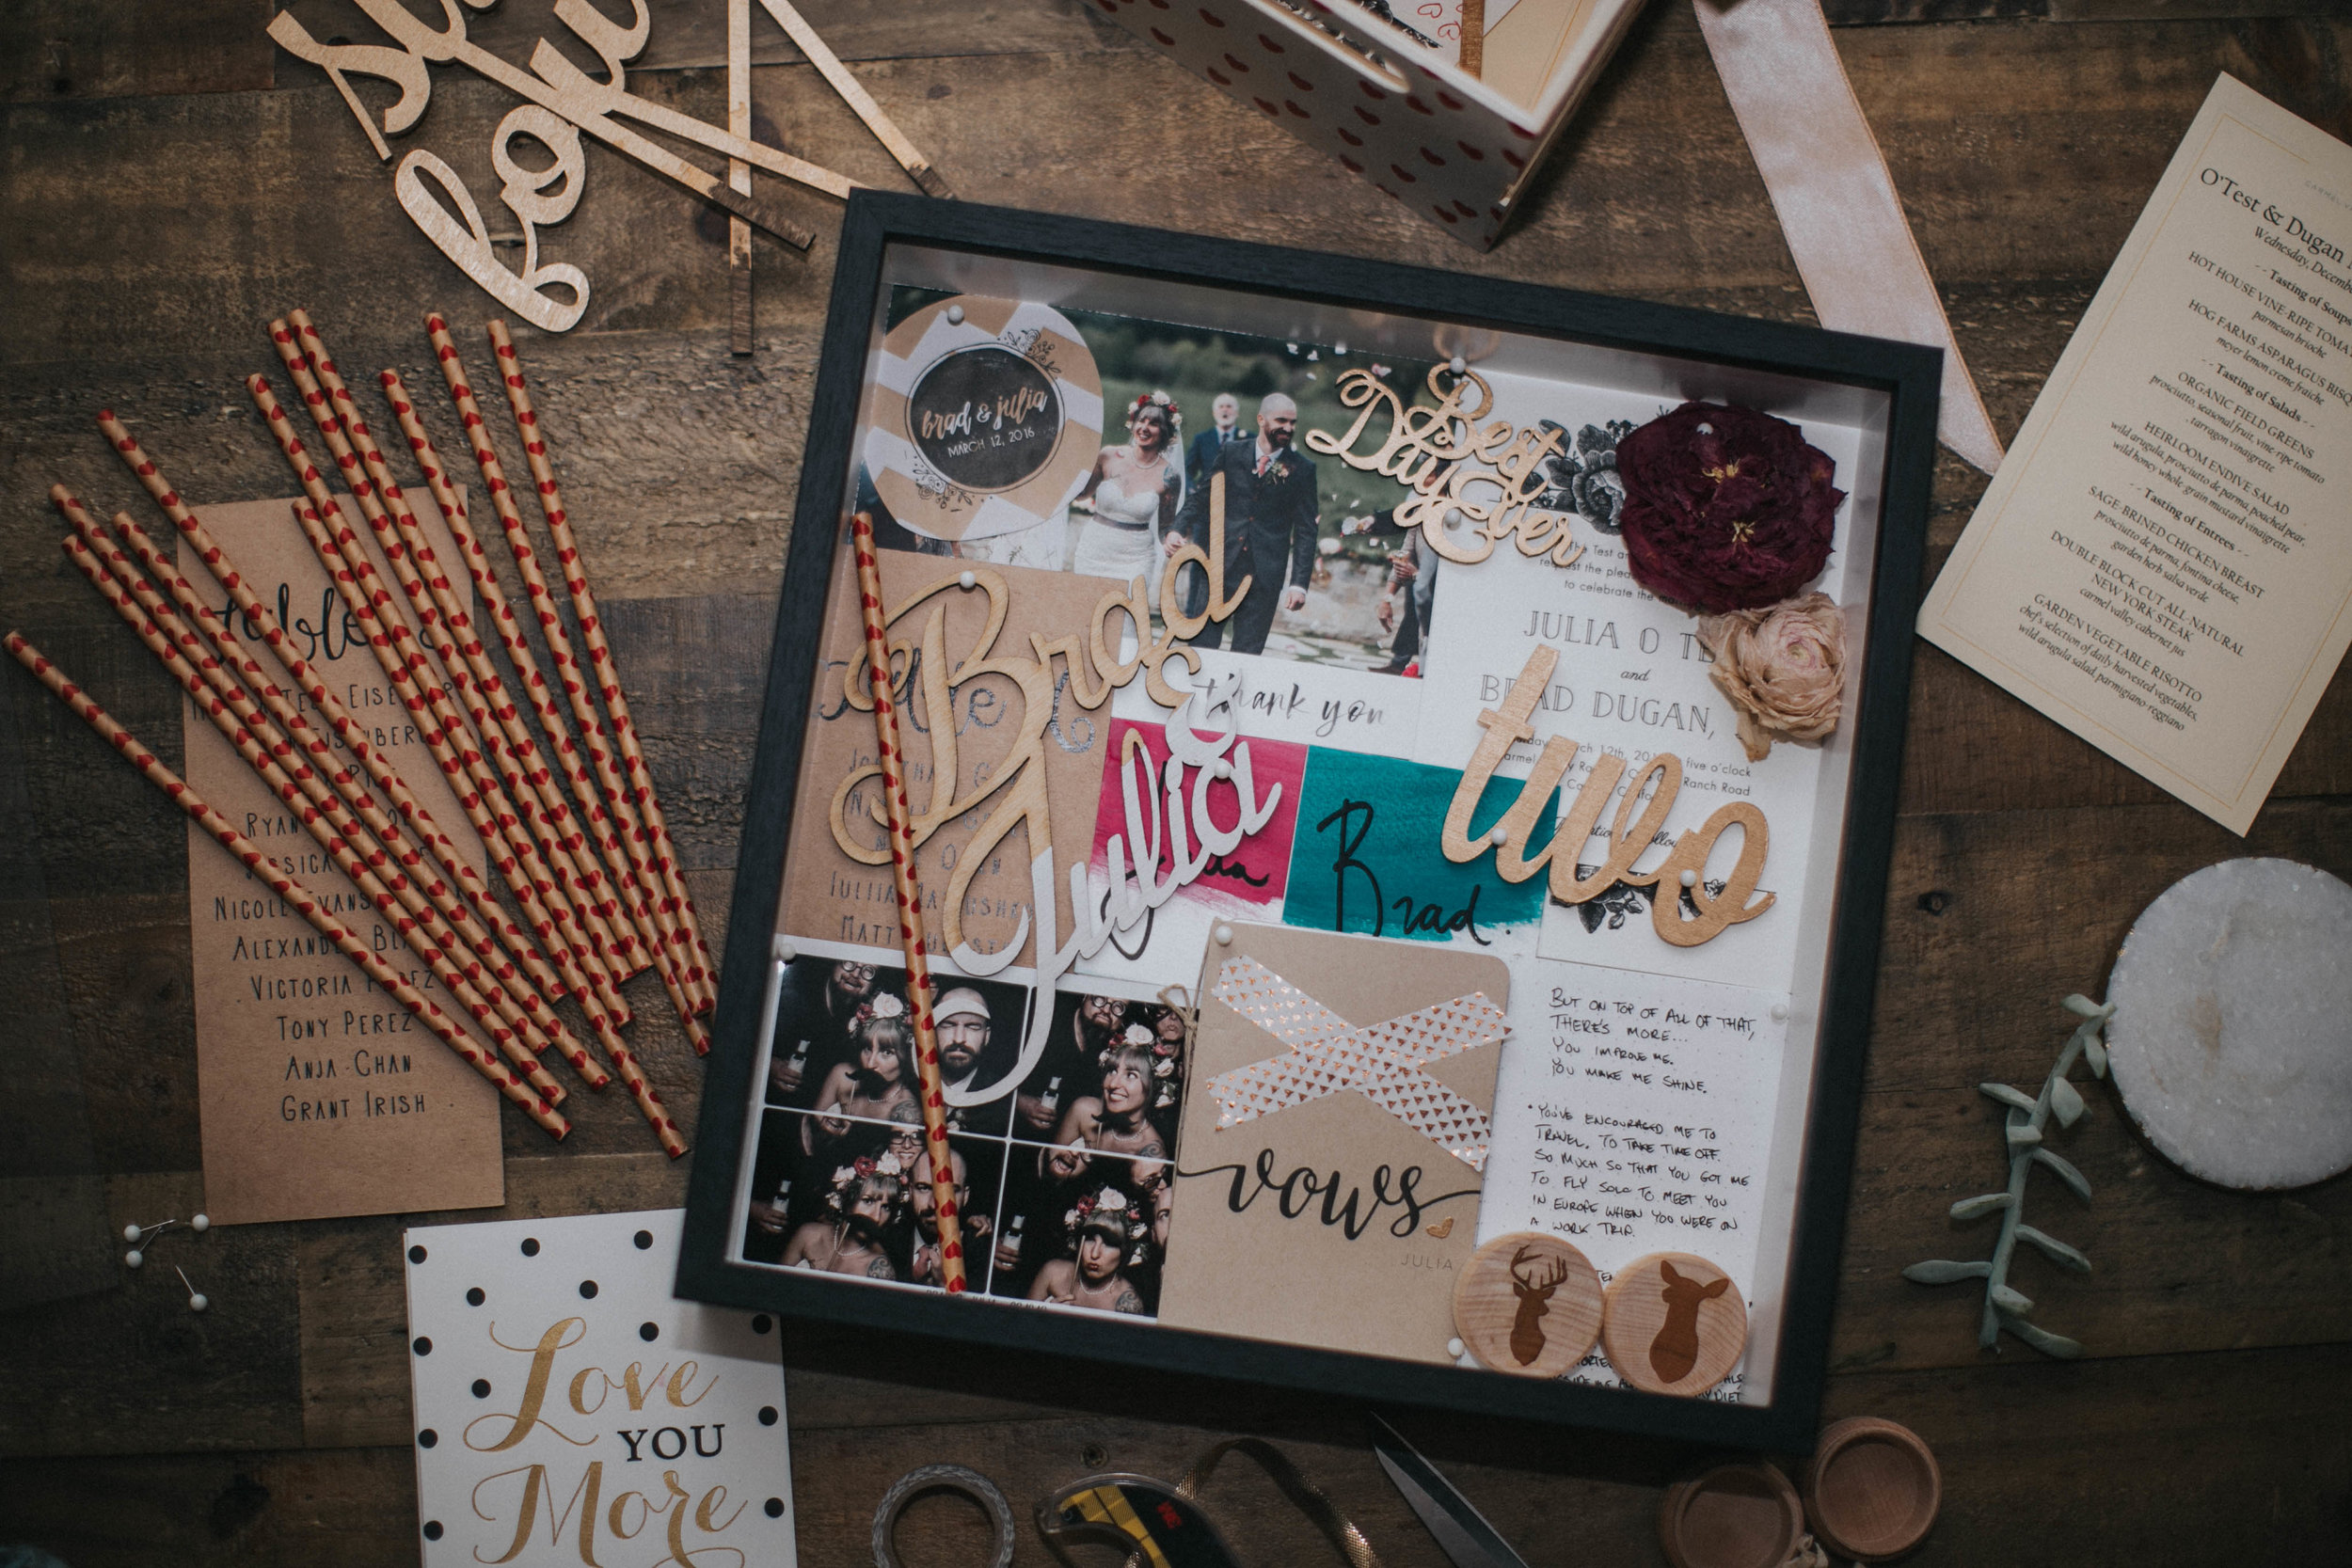
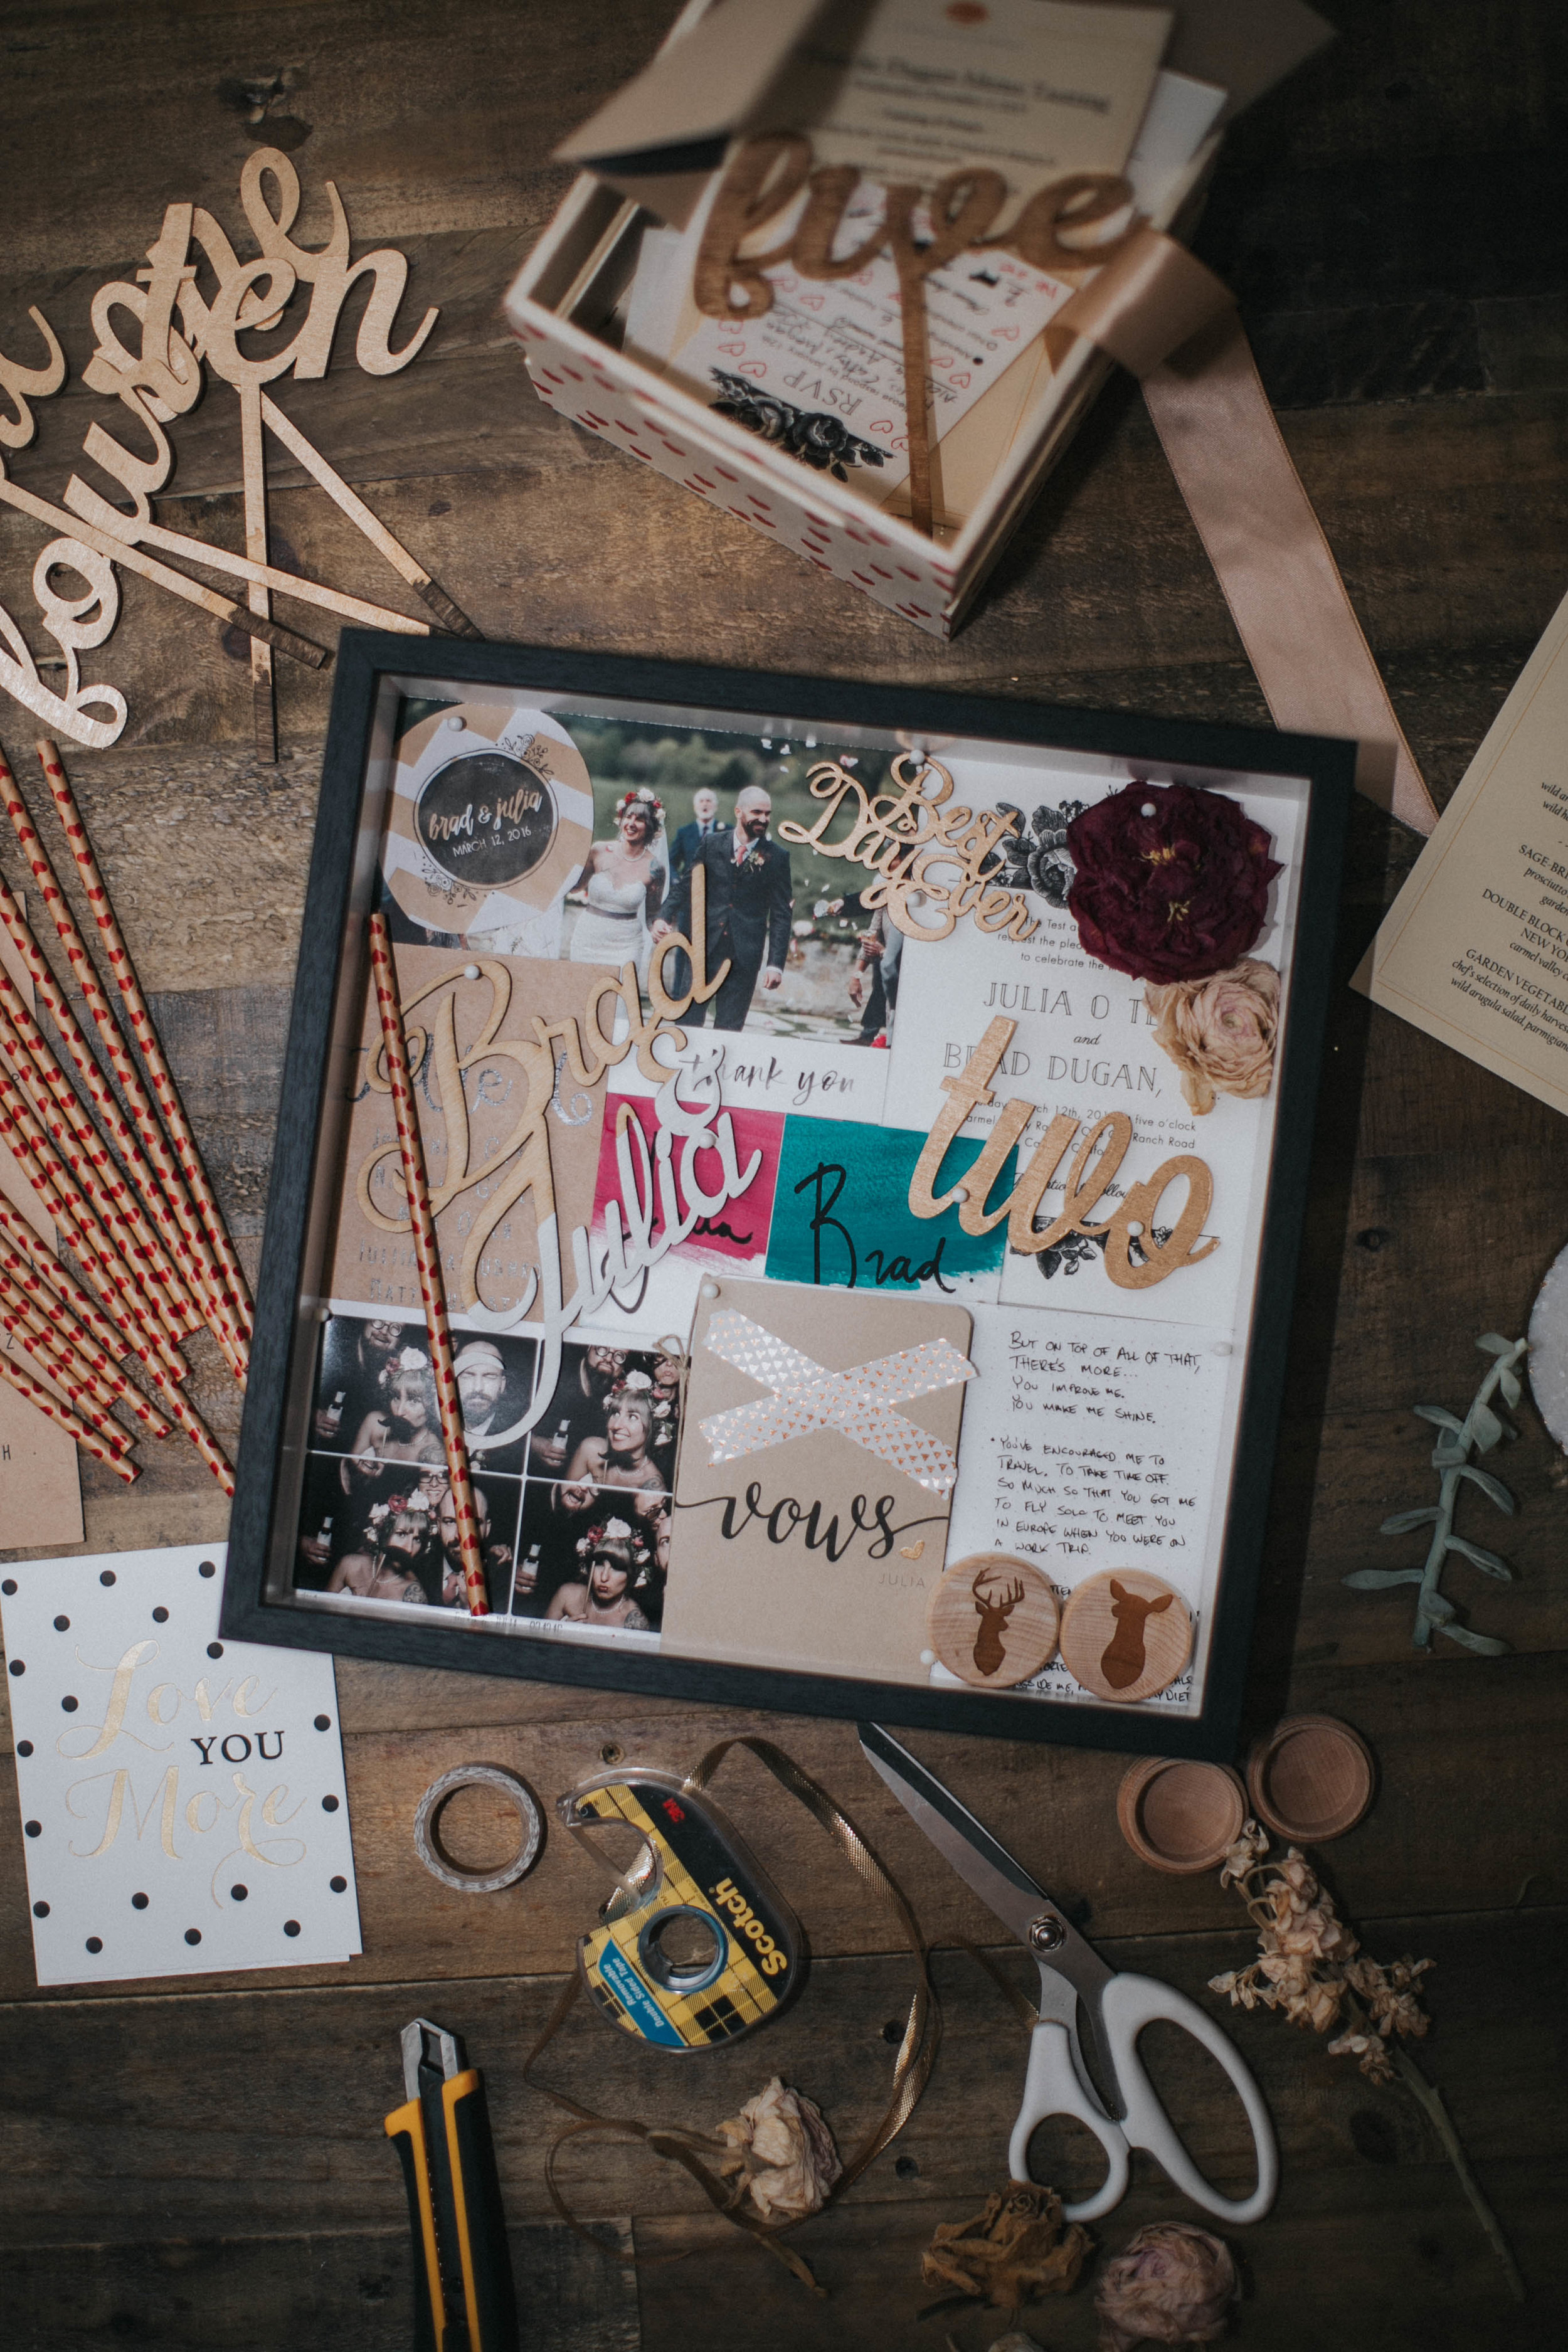
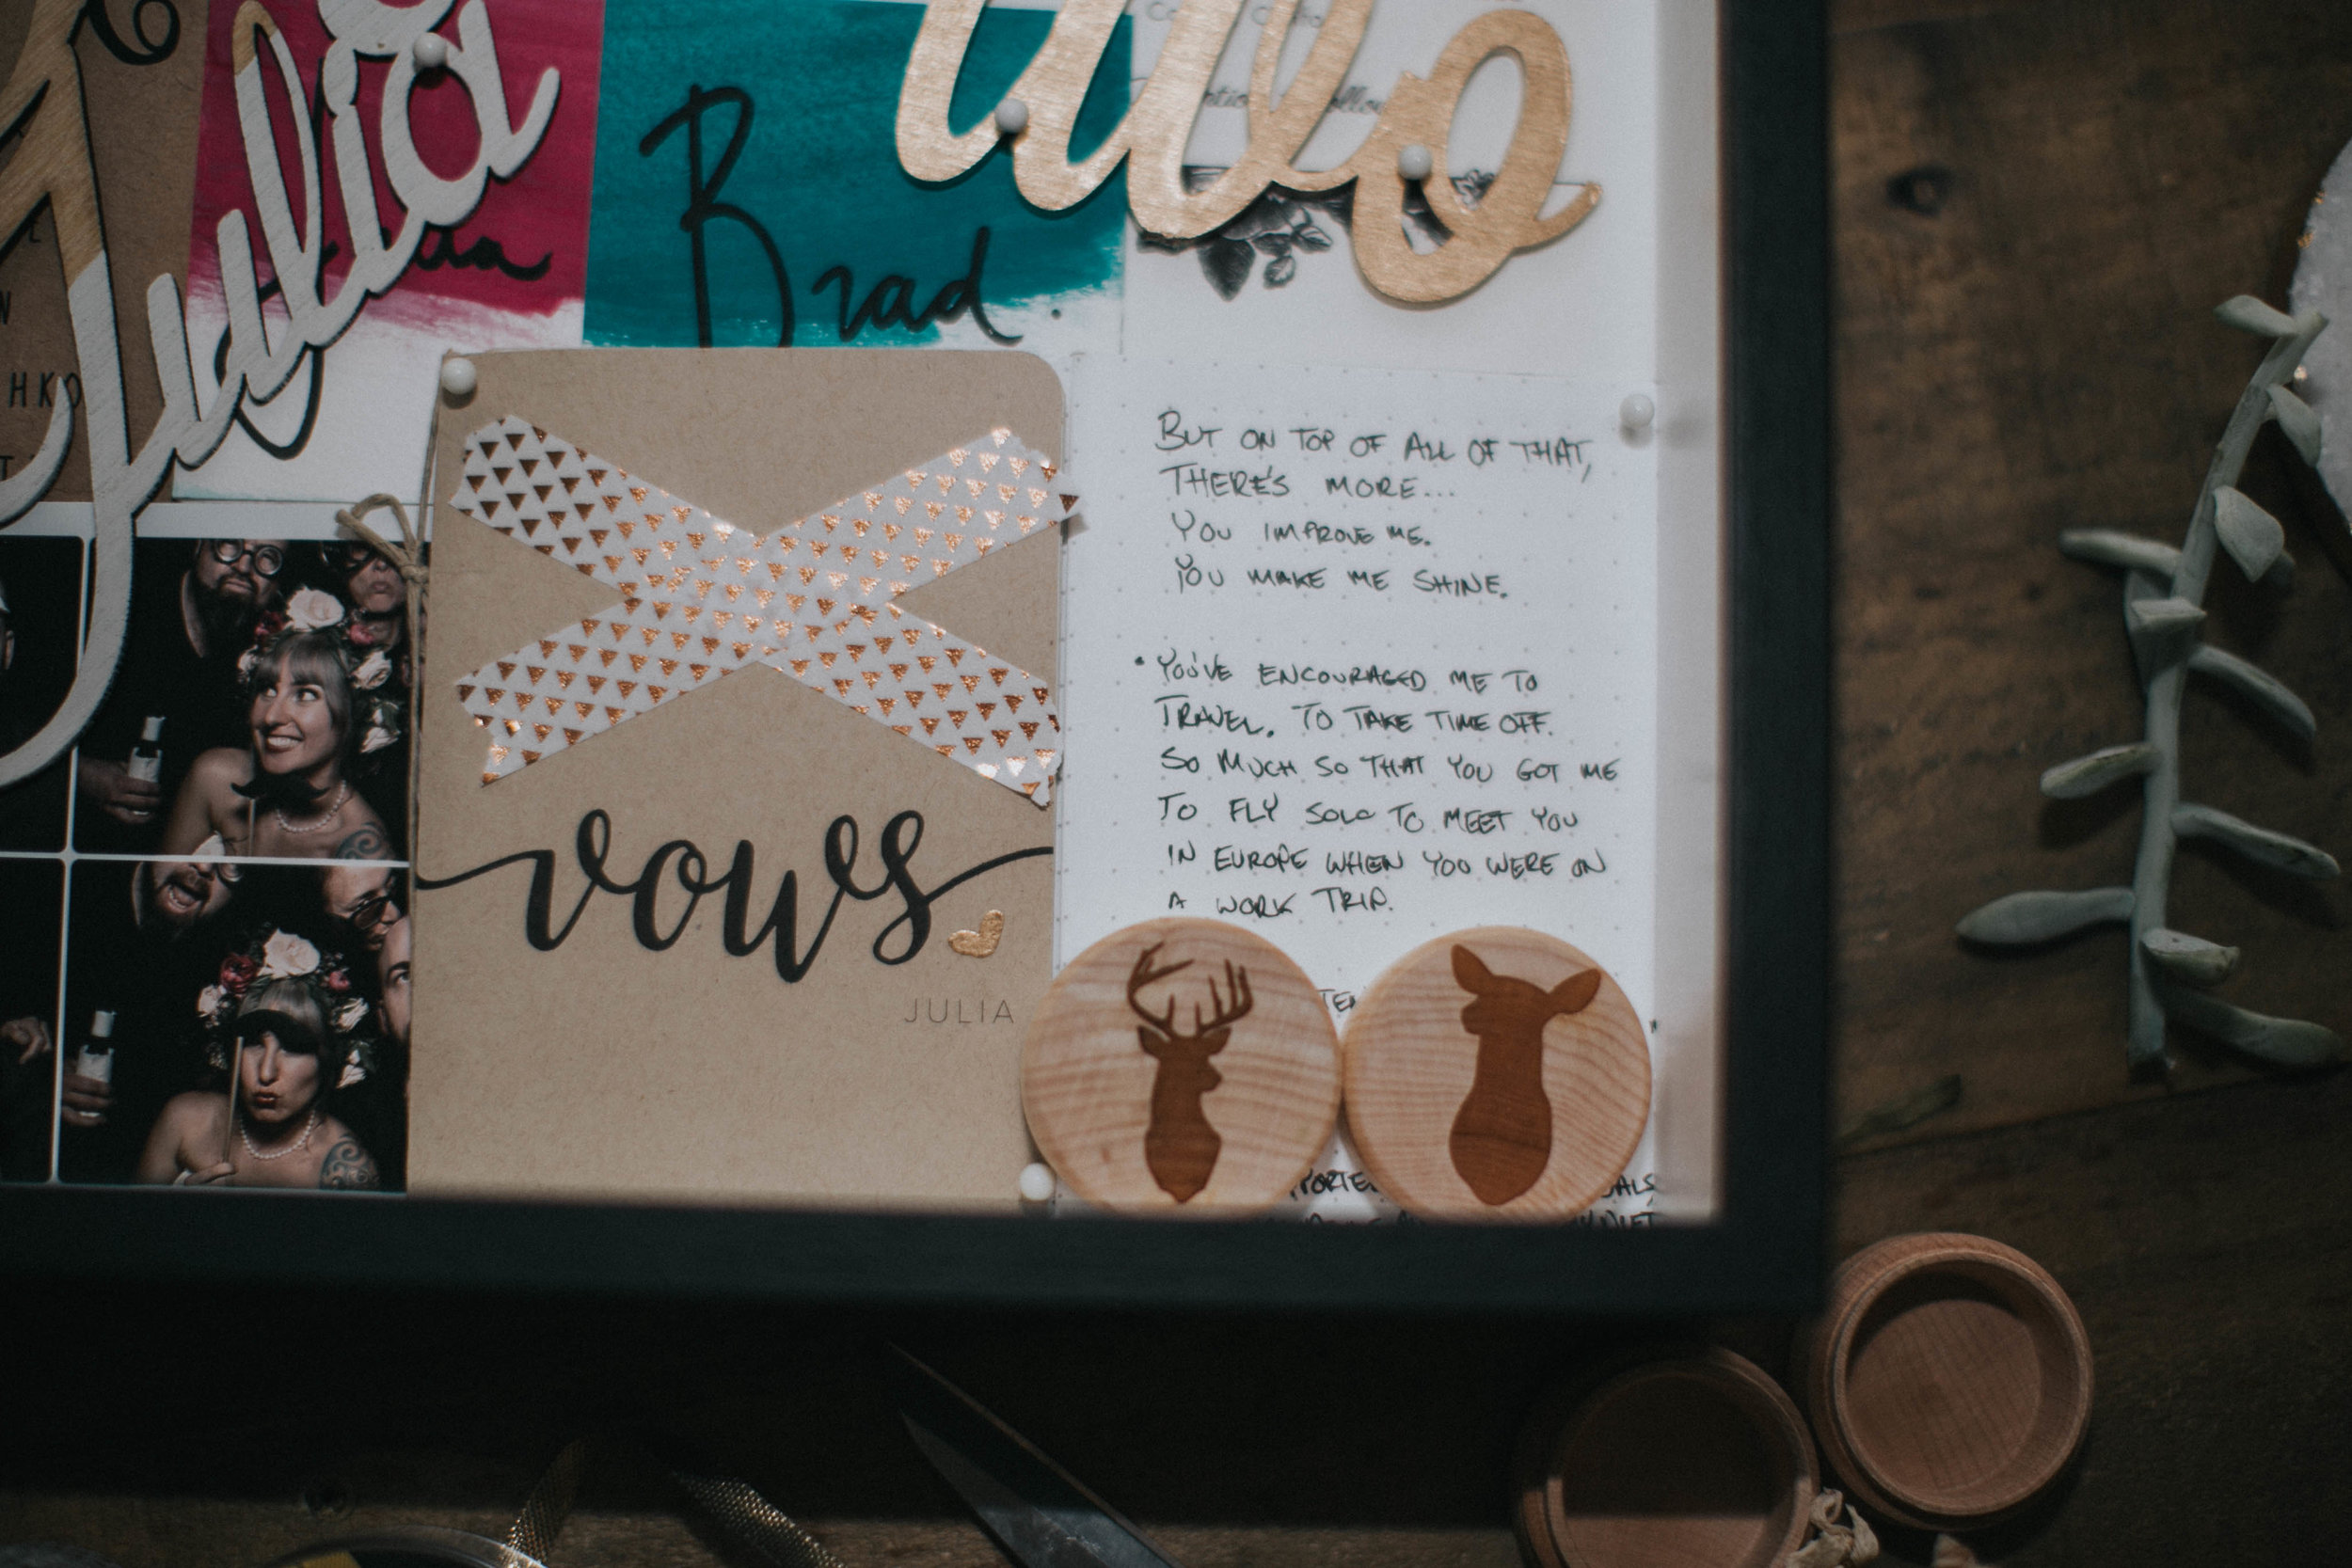
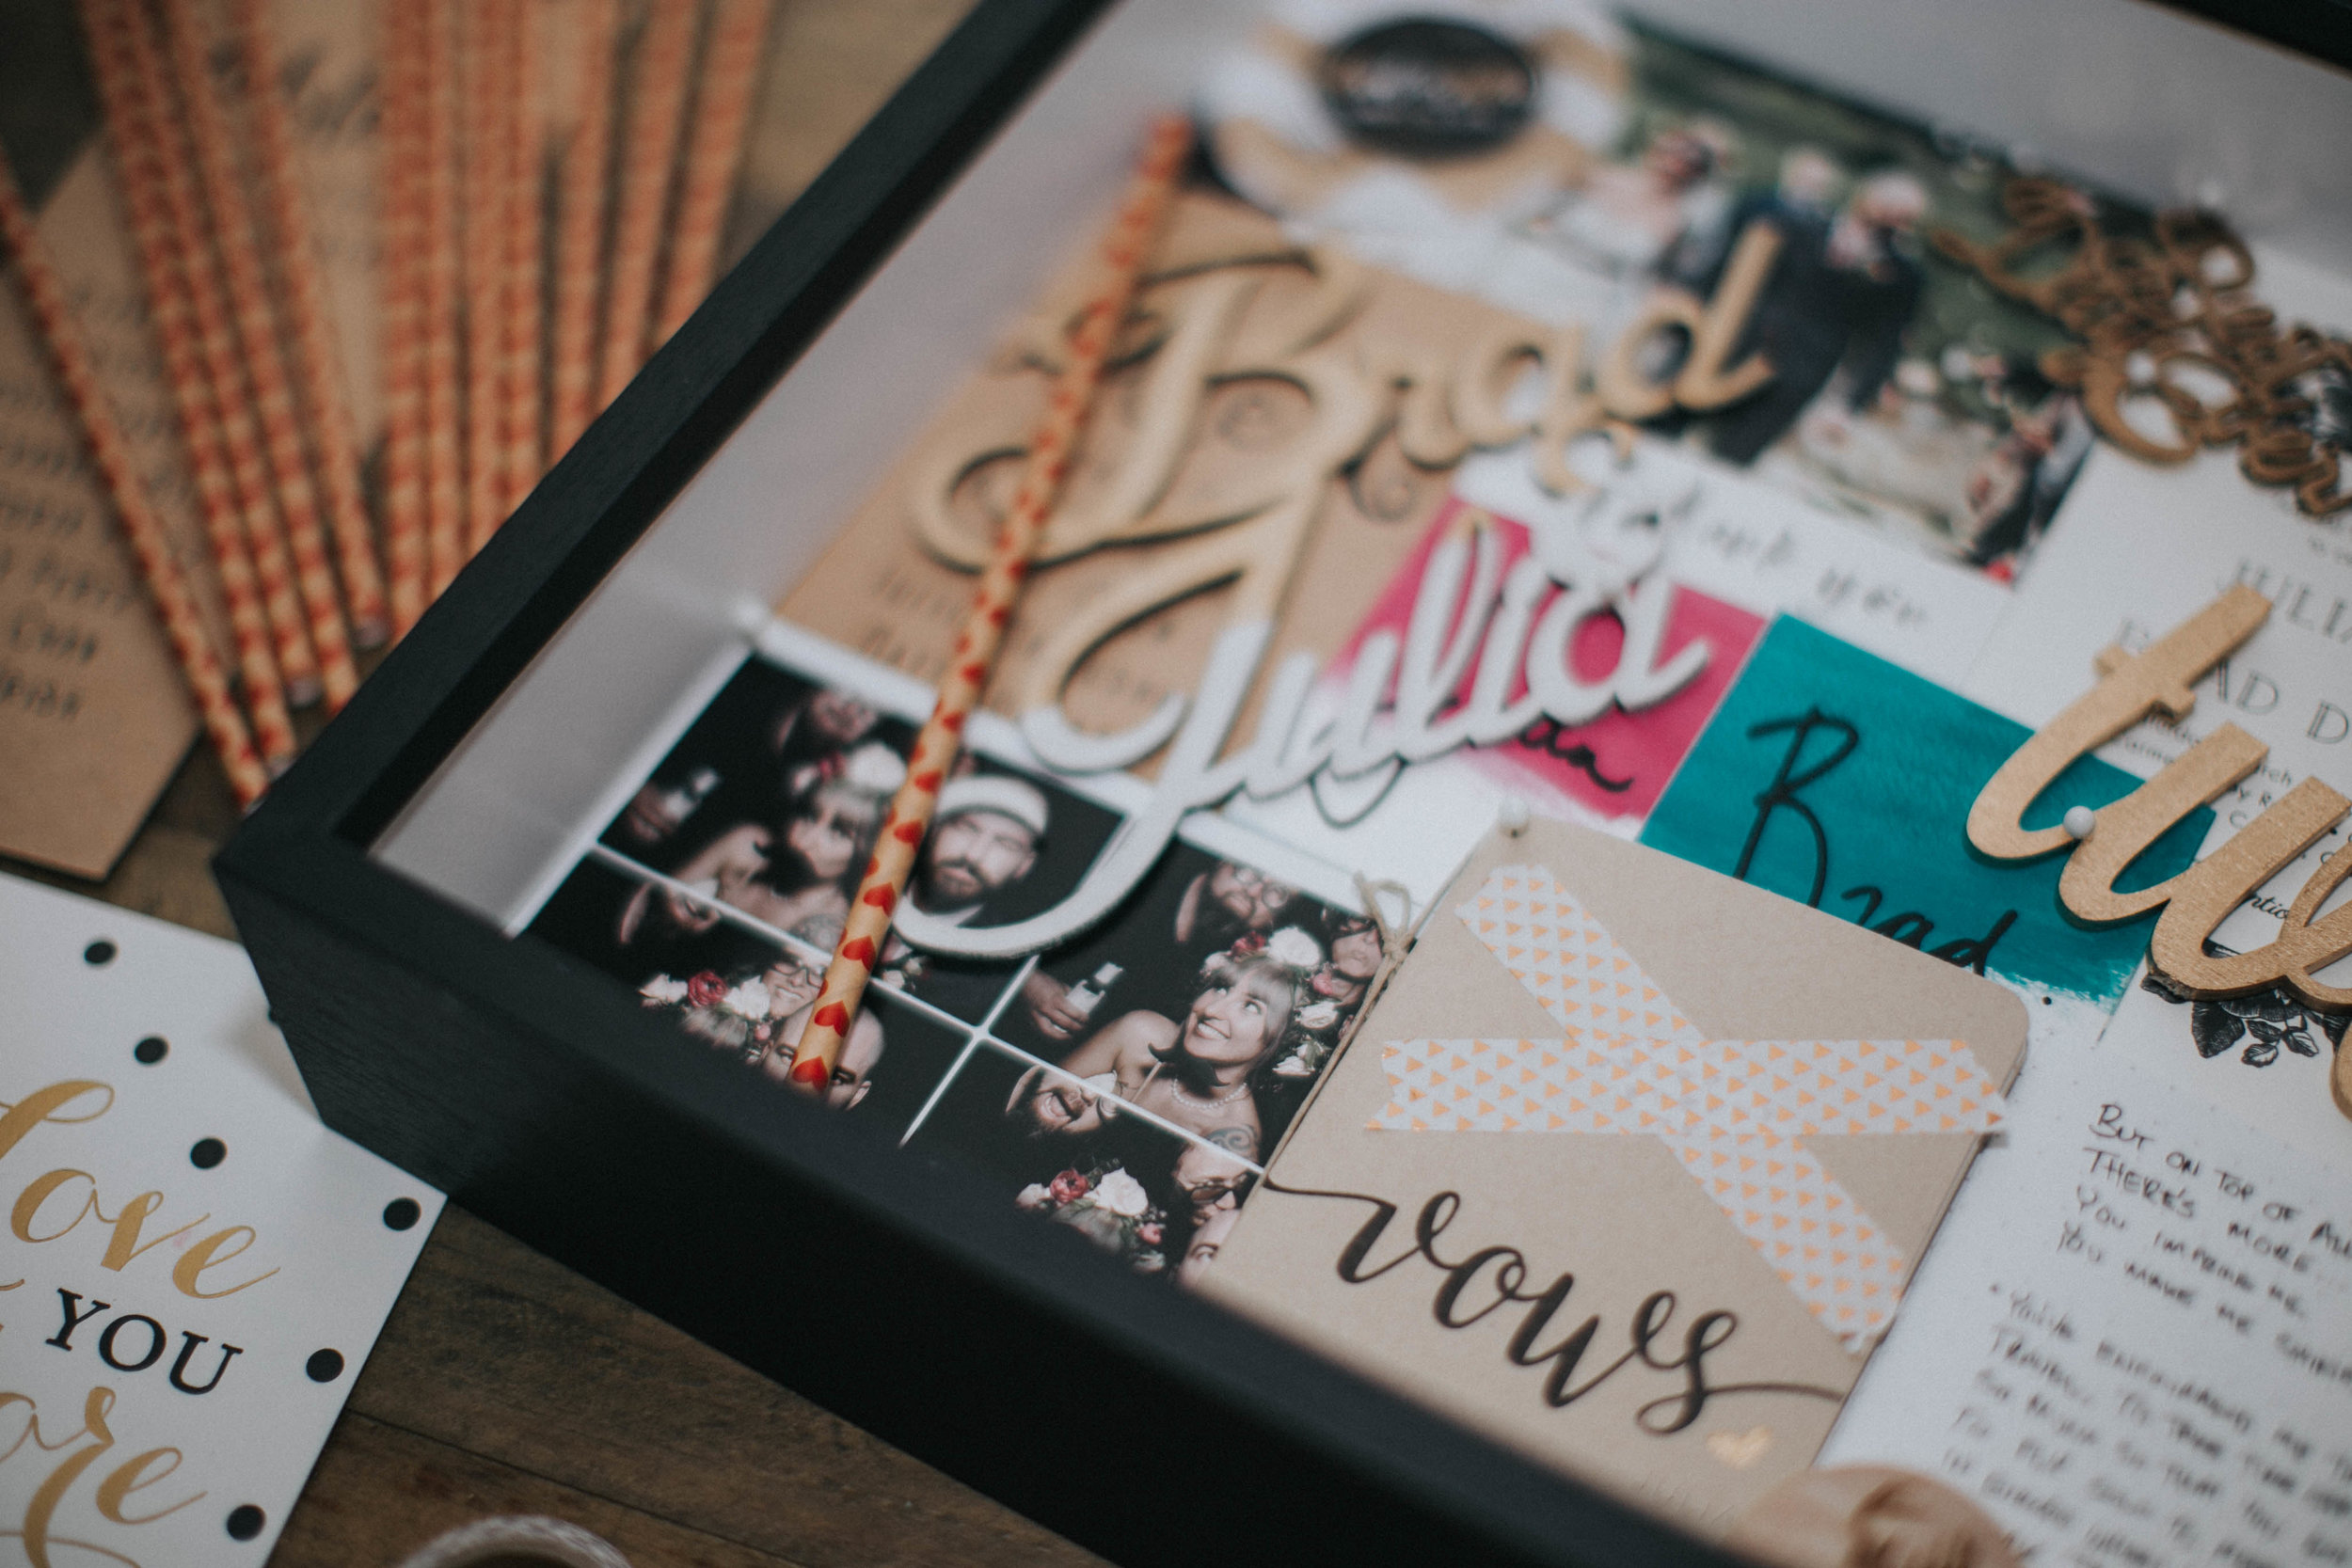
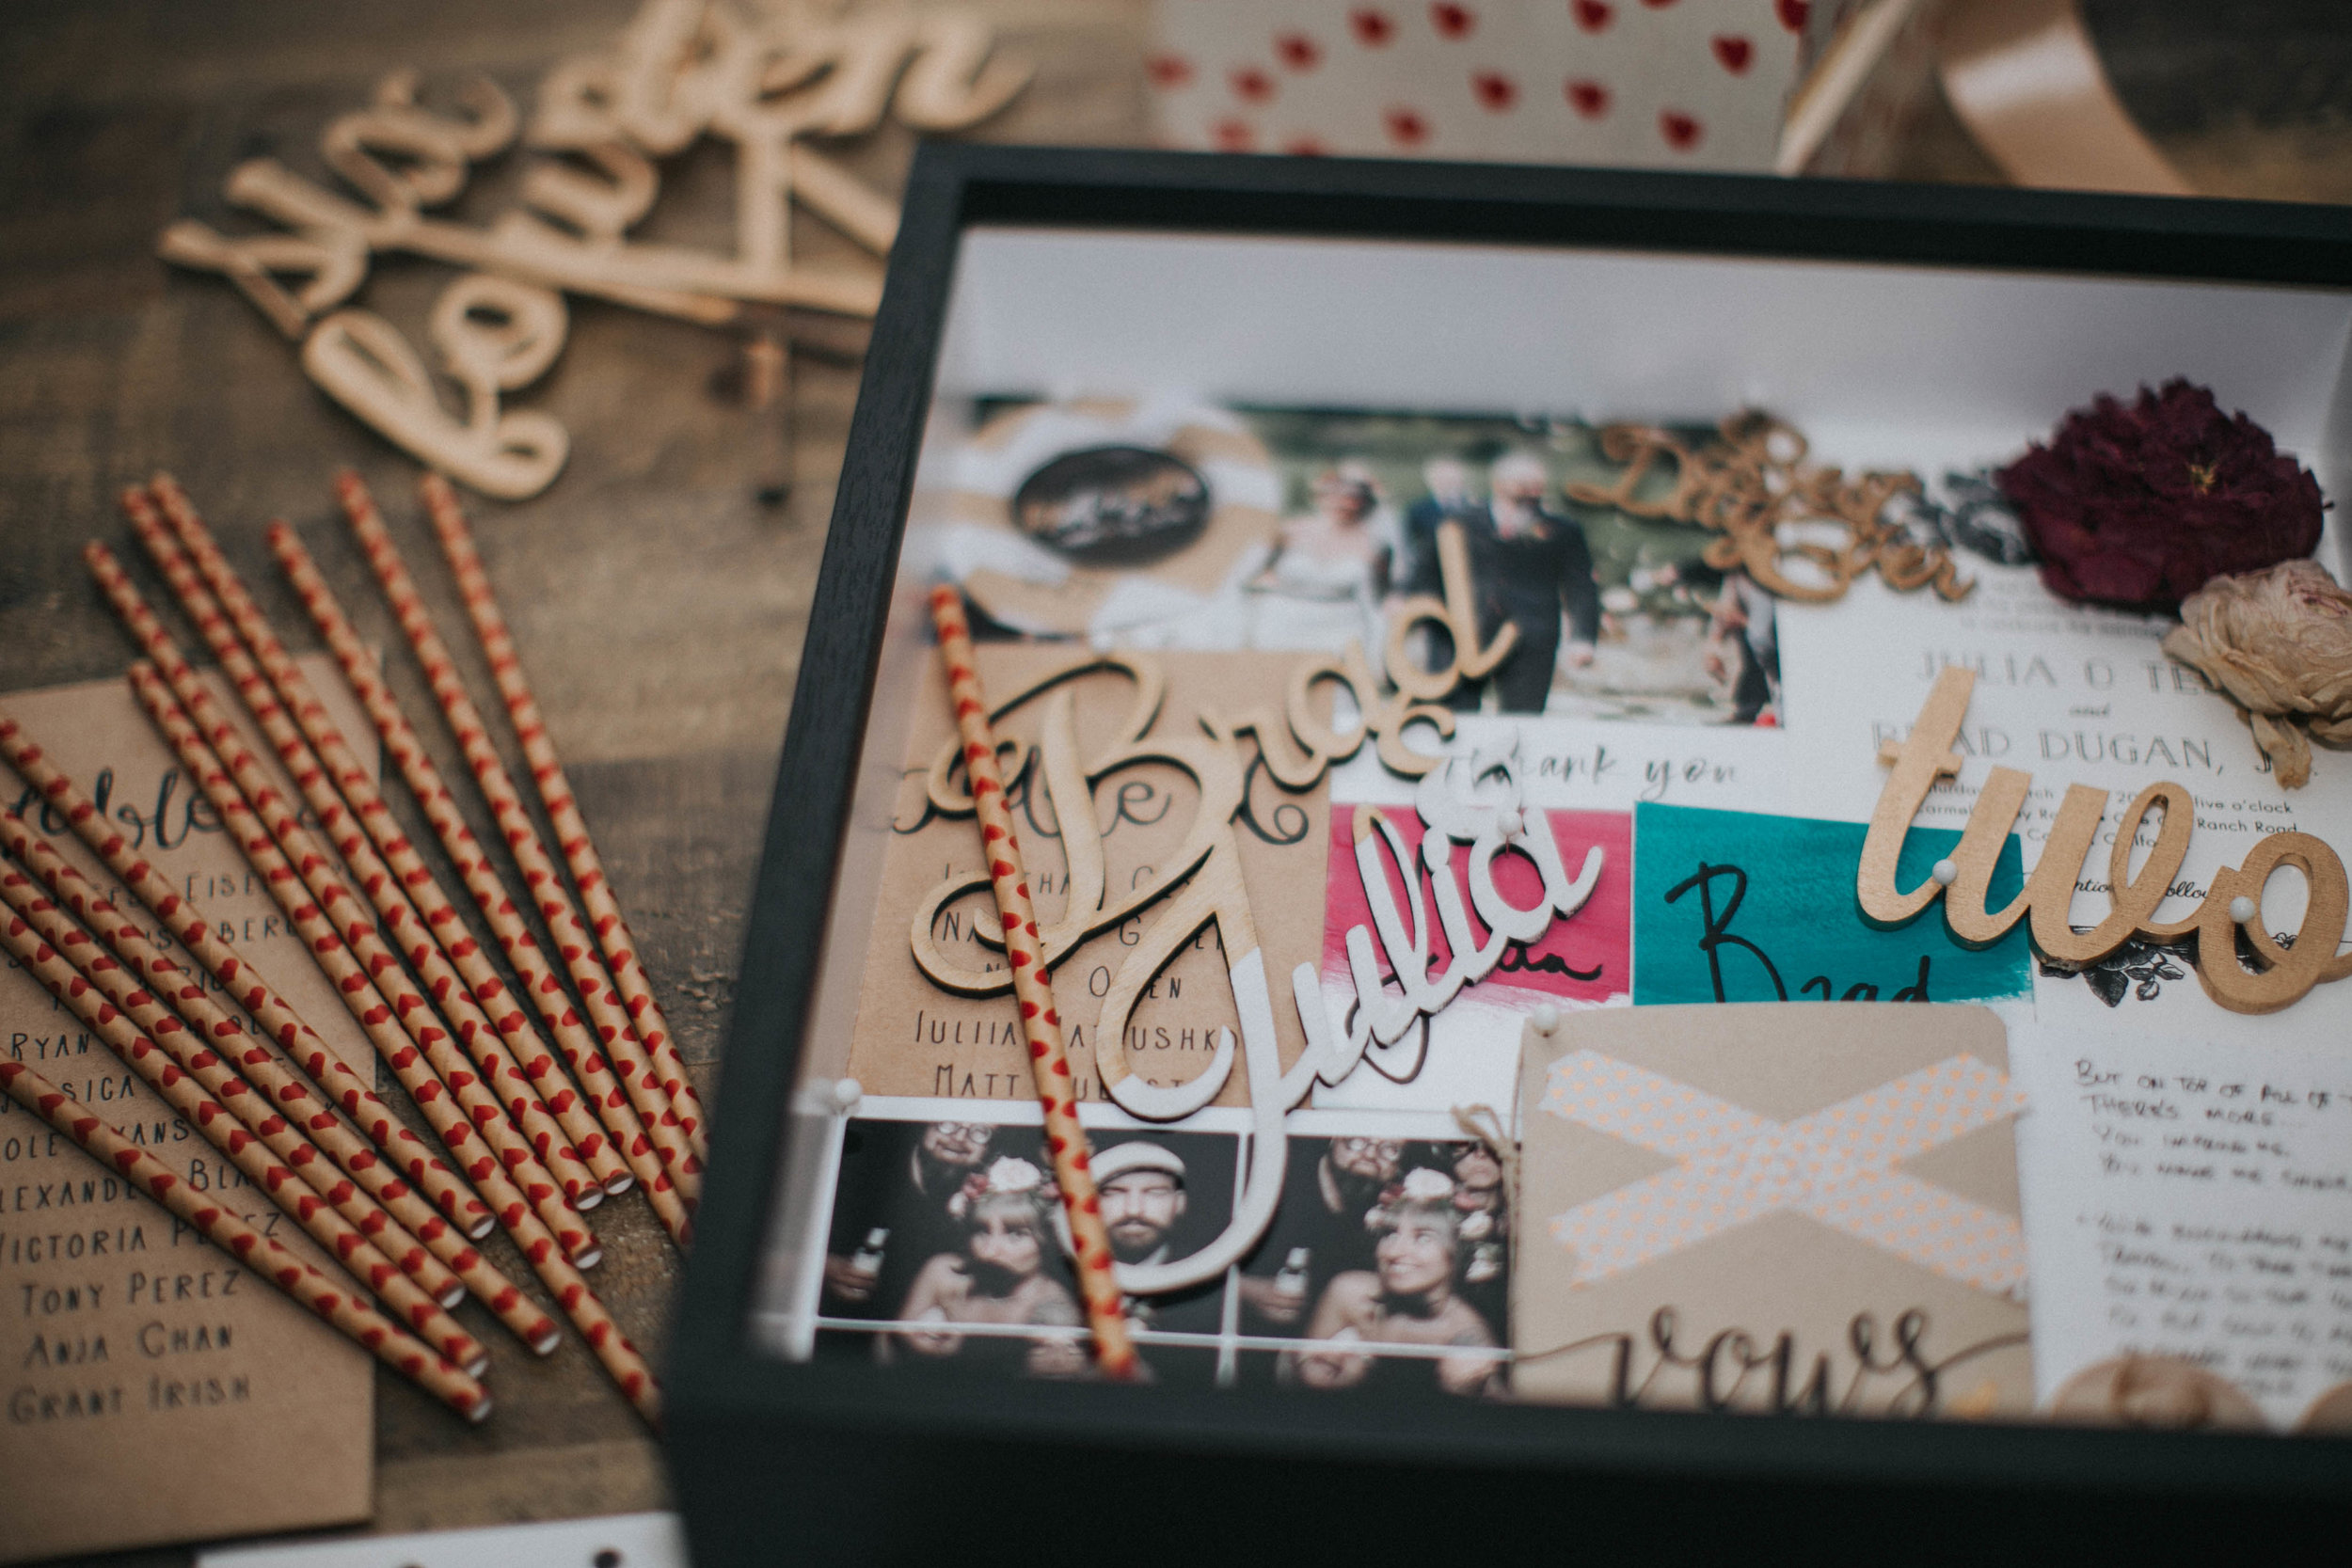
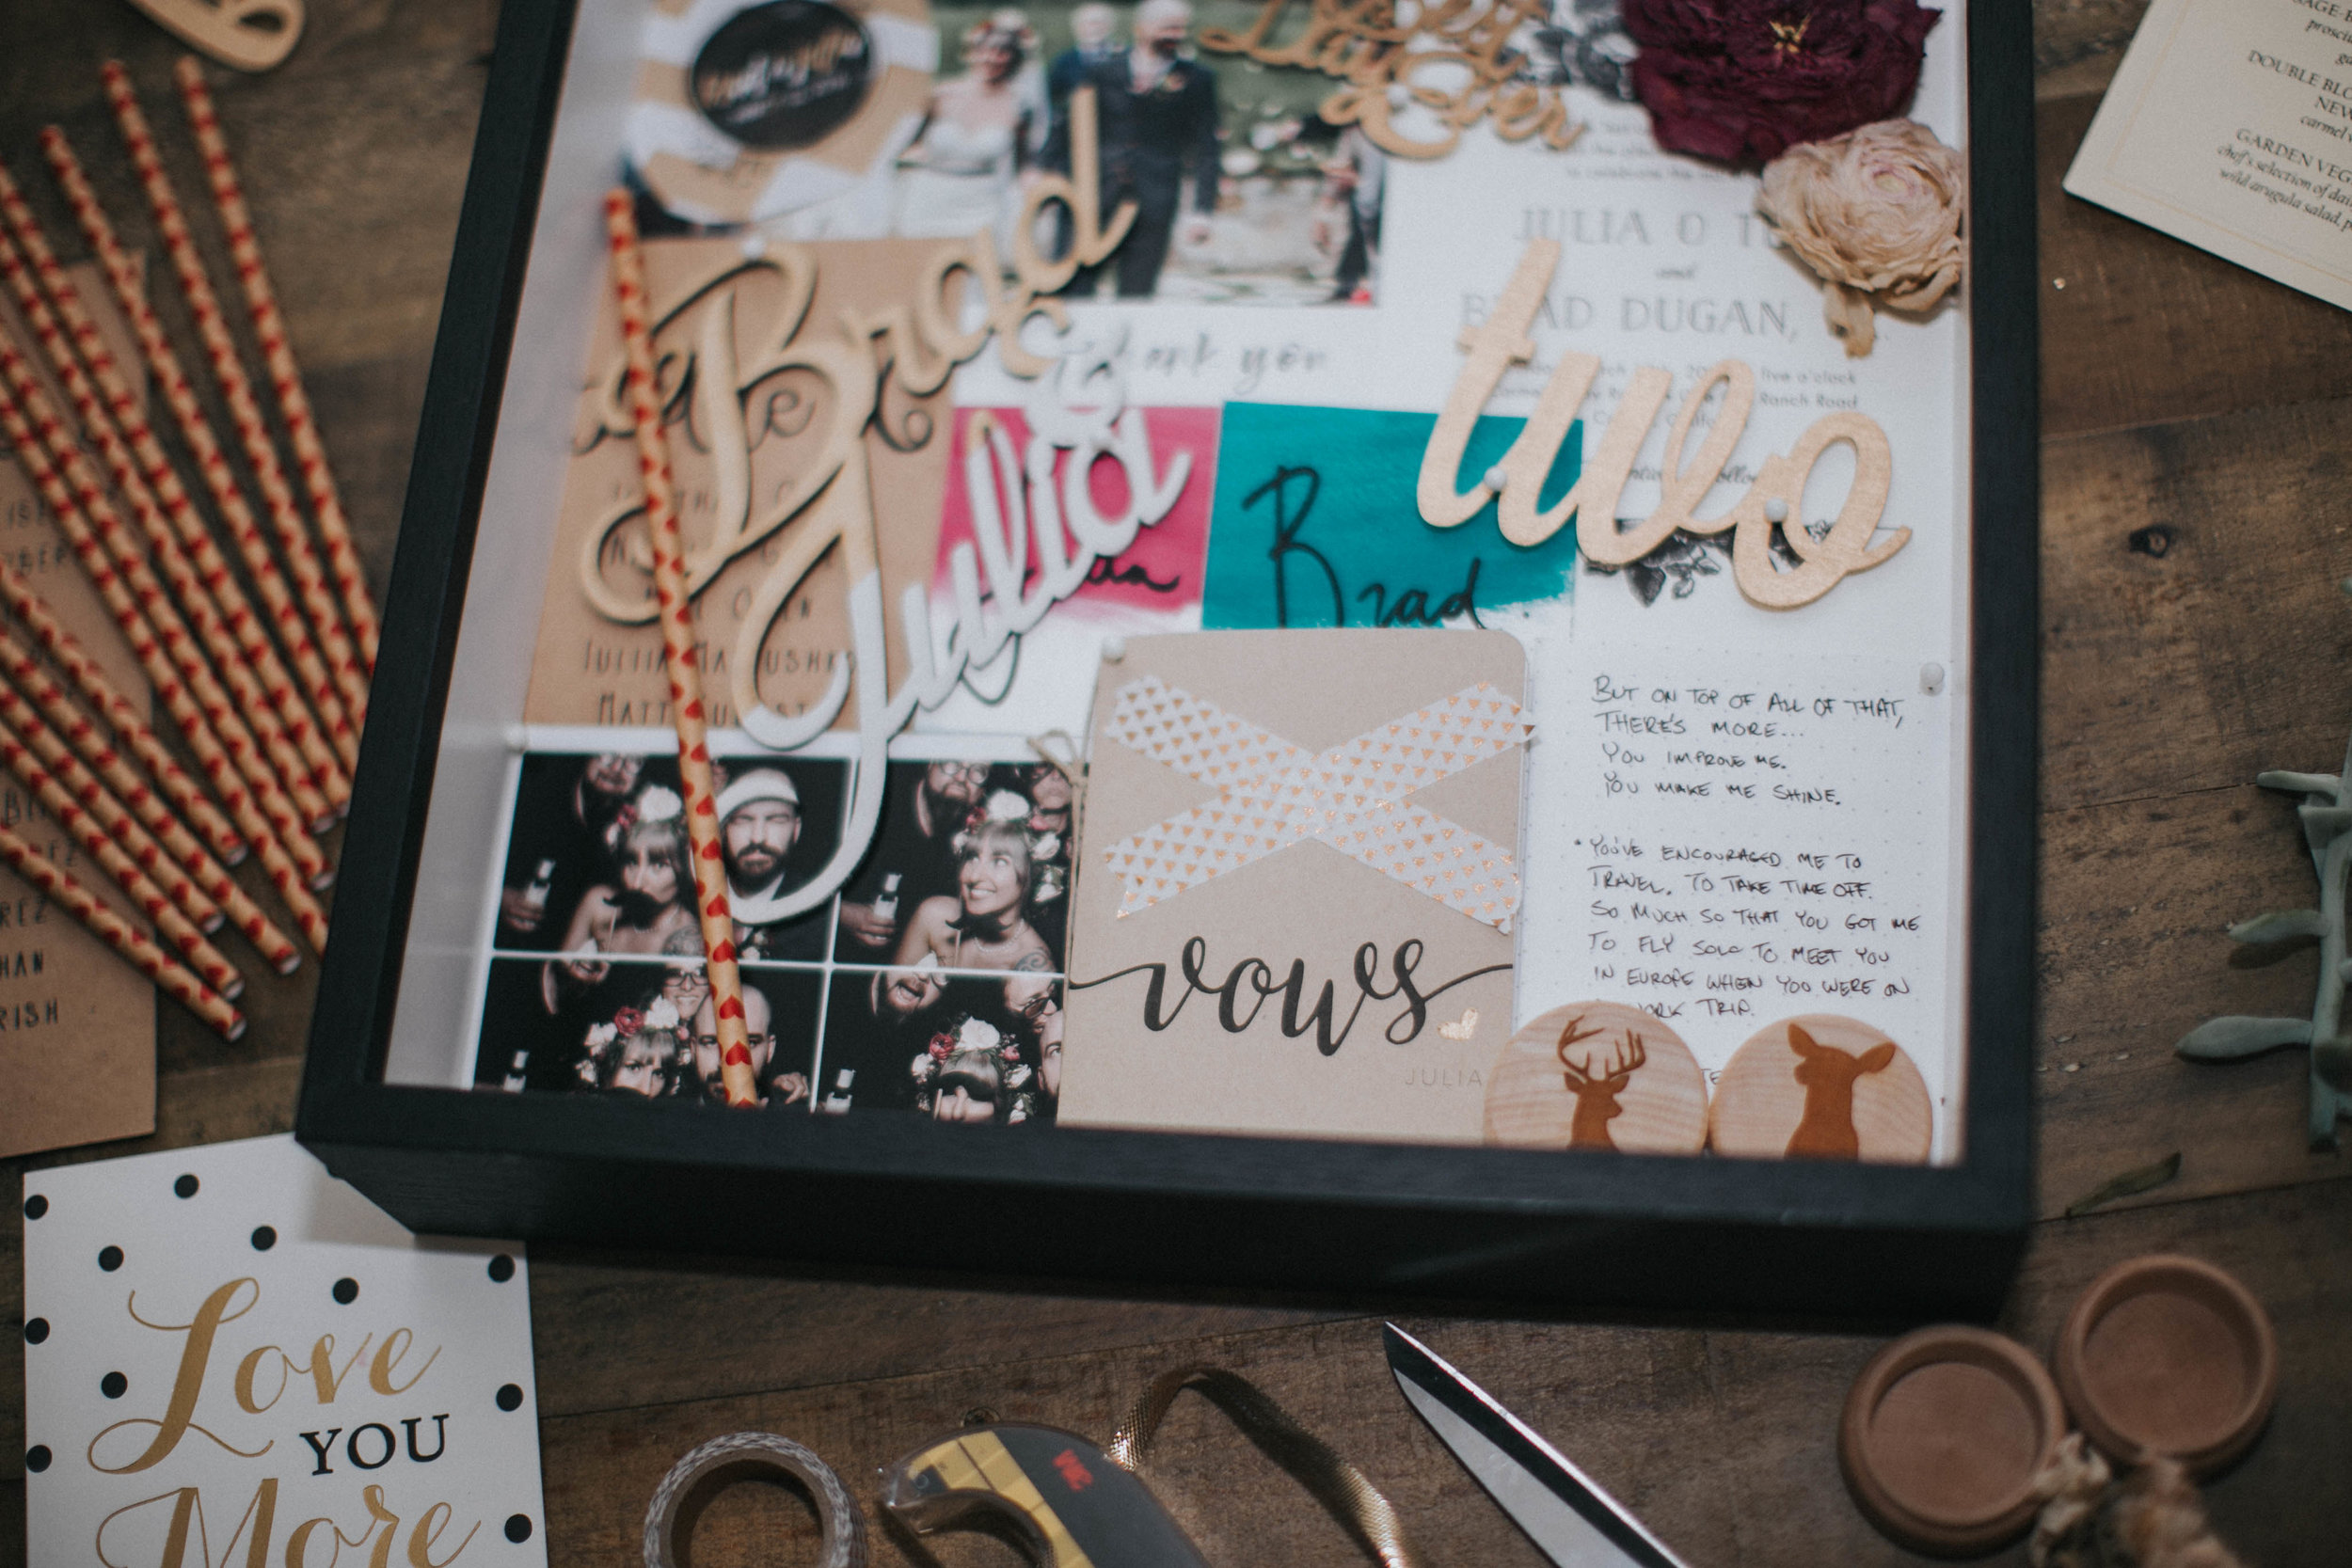
About 6 months ago Brad bought me a shadowbox frame so I could put together a little memory box of keepsakes from our wedding. It has sat in a bag in our closet since then... until tonight! I finally pulled out all of our wedding memorabilia and sat down to create this box of memories.
This is actually the first shadowbox I've ever made, believe it or not! Unlike Brad, whose office walls are lined with shadowboxes of memories from past games and events. It was a bit intimidating to think about fitting our whole wedding into a 12x12 frame, but it turned out great! I can't stop staring at it.
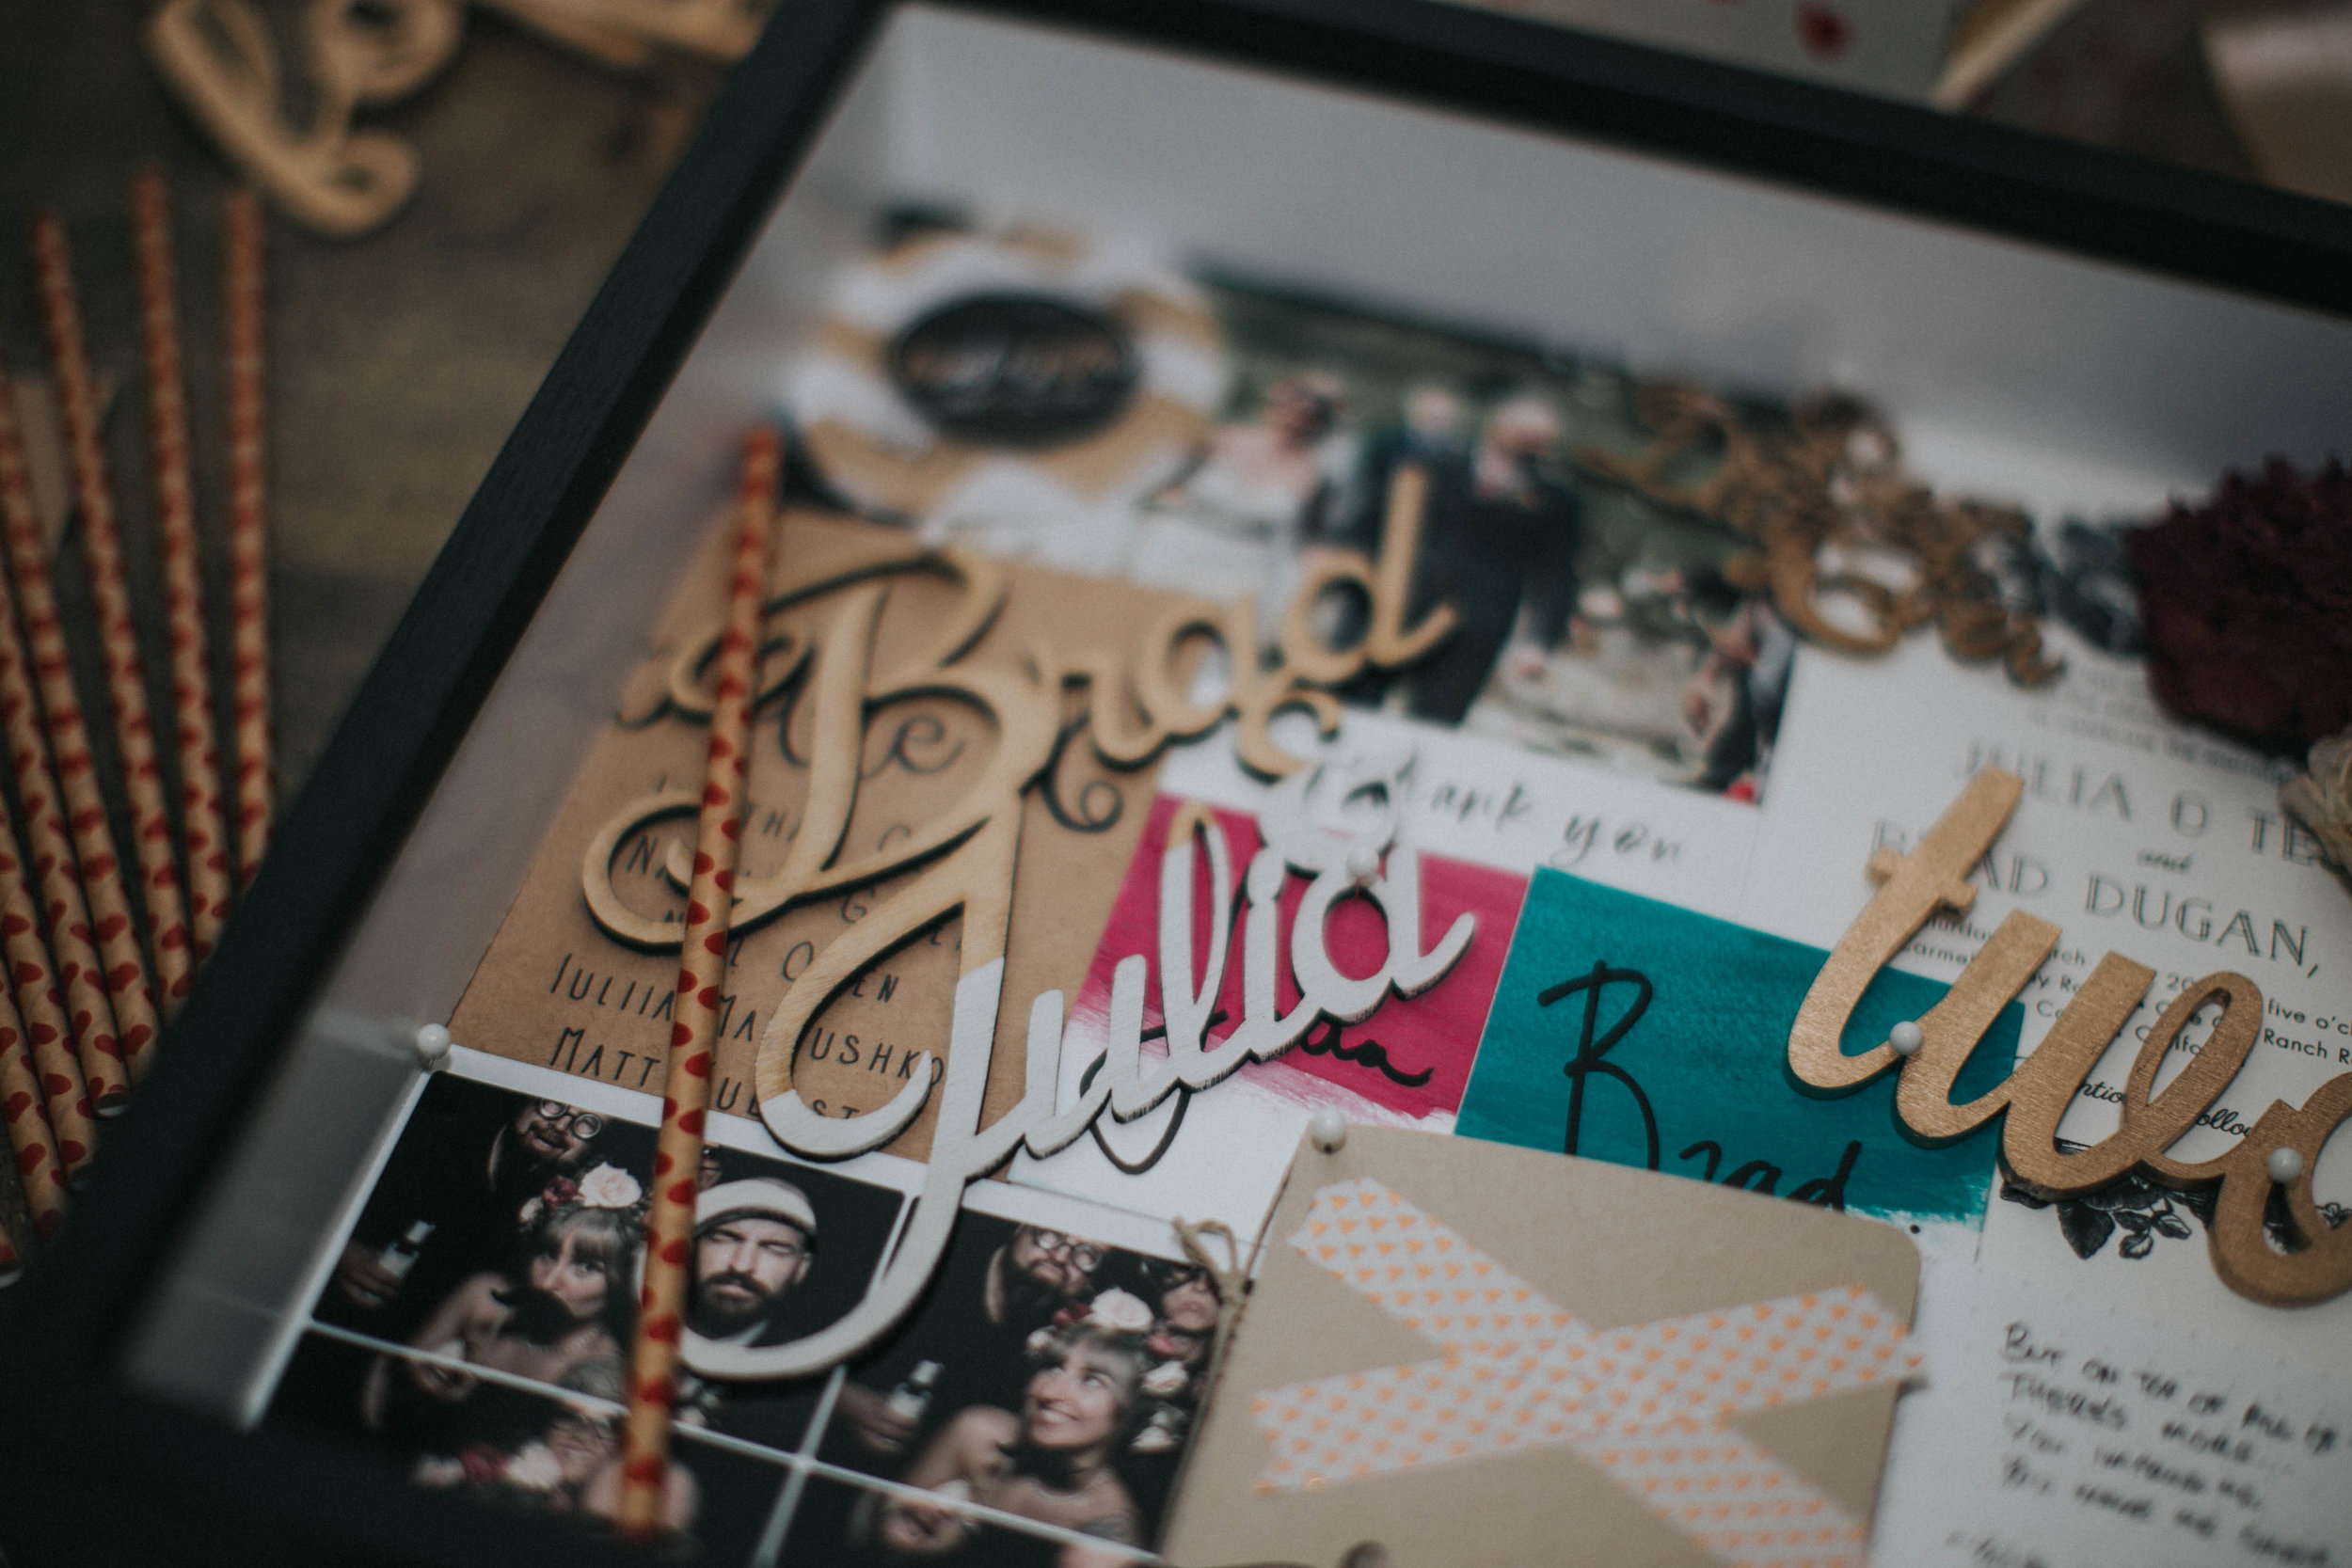
I started with a layer of all things made of paper, then added the wood, dried flowers, and objects with larger dimensions, like ring boxes, vow books, and a straw. I thought I'd have to use a lot of tape and glue, but magically, everything held up with just pins! I'm actually quite proud of my work, considering it's my first time, so I figured I'd share the process.
Scroll down below the photos for reviews of our wedding vendors and links to purchase everything you see here!
I have to say that all of our wedding vendors were INCREDIBLE. Here's a list of vendors and makers that made our wedding the Pinterest-perfect event that it was:
- Photobooth - Magbooth. I fell in love with this company after seeing them at every craft show in SF. They seriously make everyone look GOOD.
- Wedding photography - Mullers Photography. The sweetest husband and wife team - Lauren and Daniel! We completely fell in love with them during our Skype meetings (they're based in Omaha, so we didn't actually meet until our rehearsal dinner) and they were just as amazing in person. Calm and super fun, it felt like they were close friends and we loved having them around to document every part of our day. Also, the photos came out stunning!
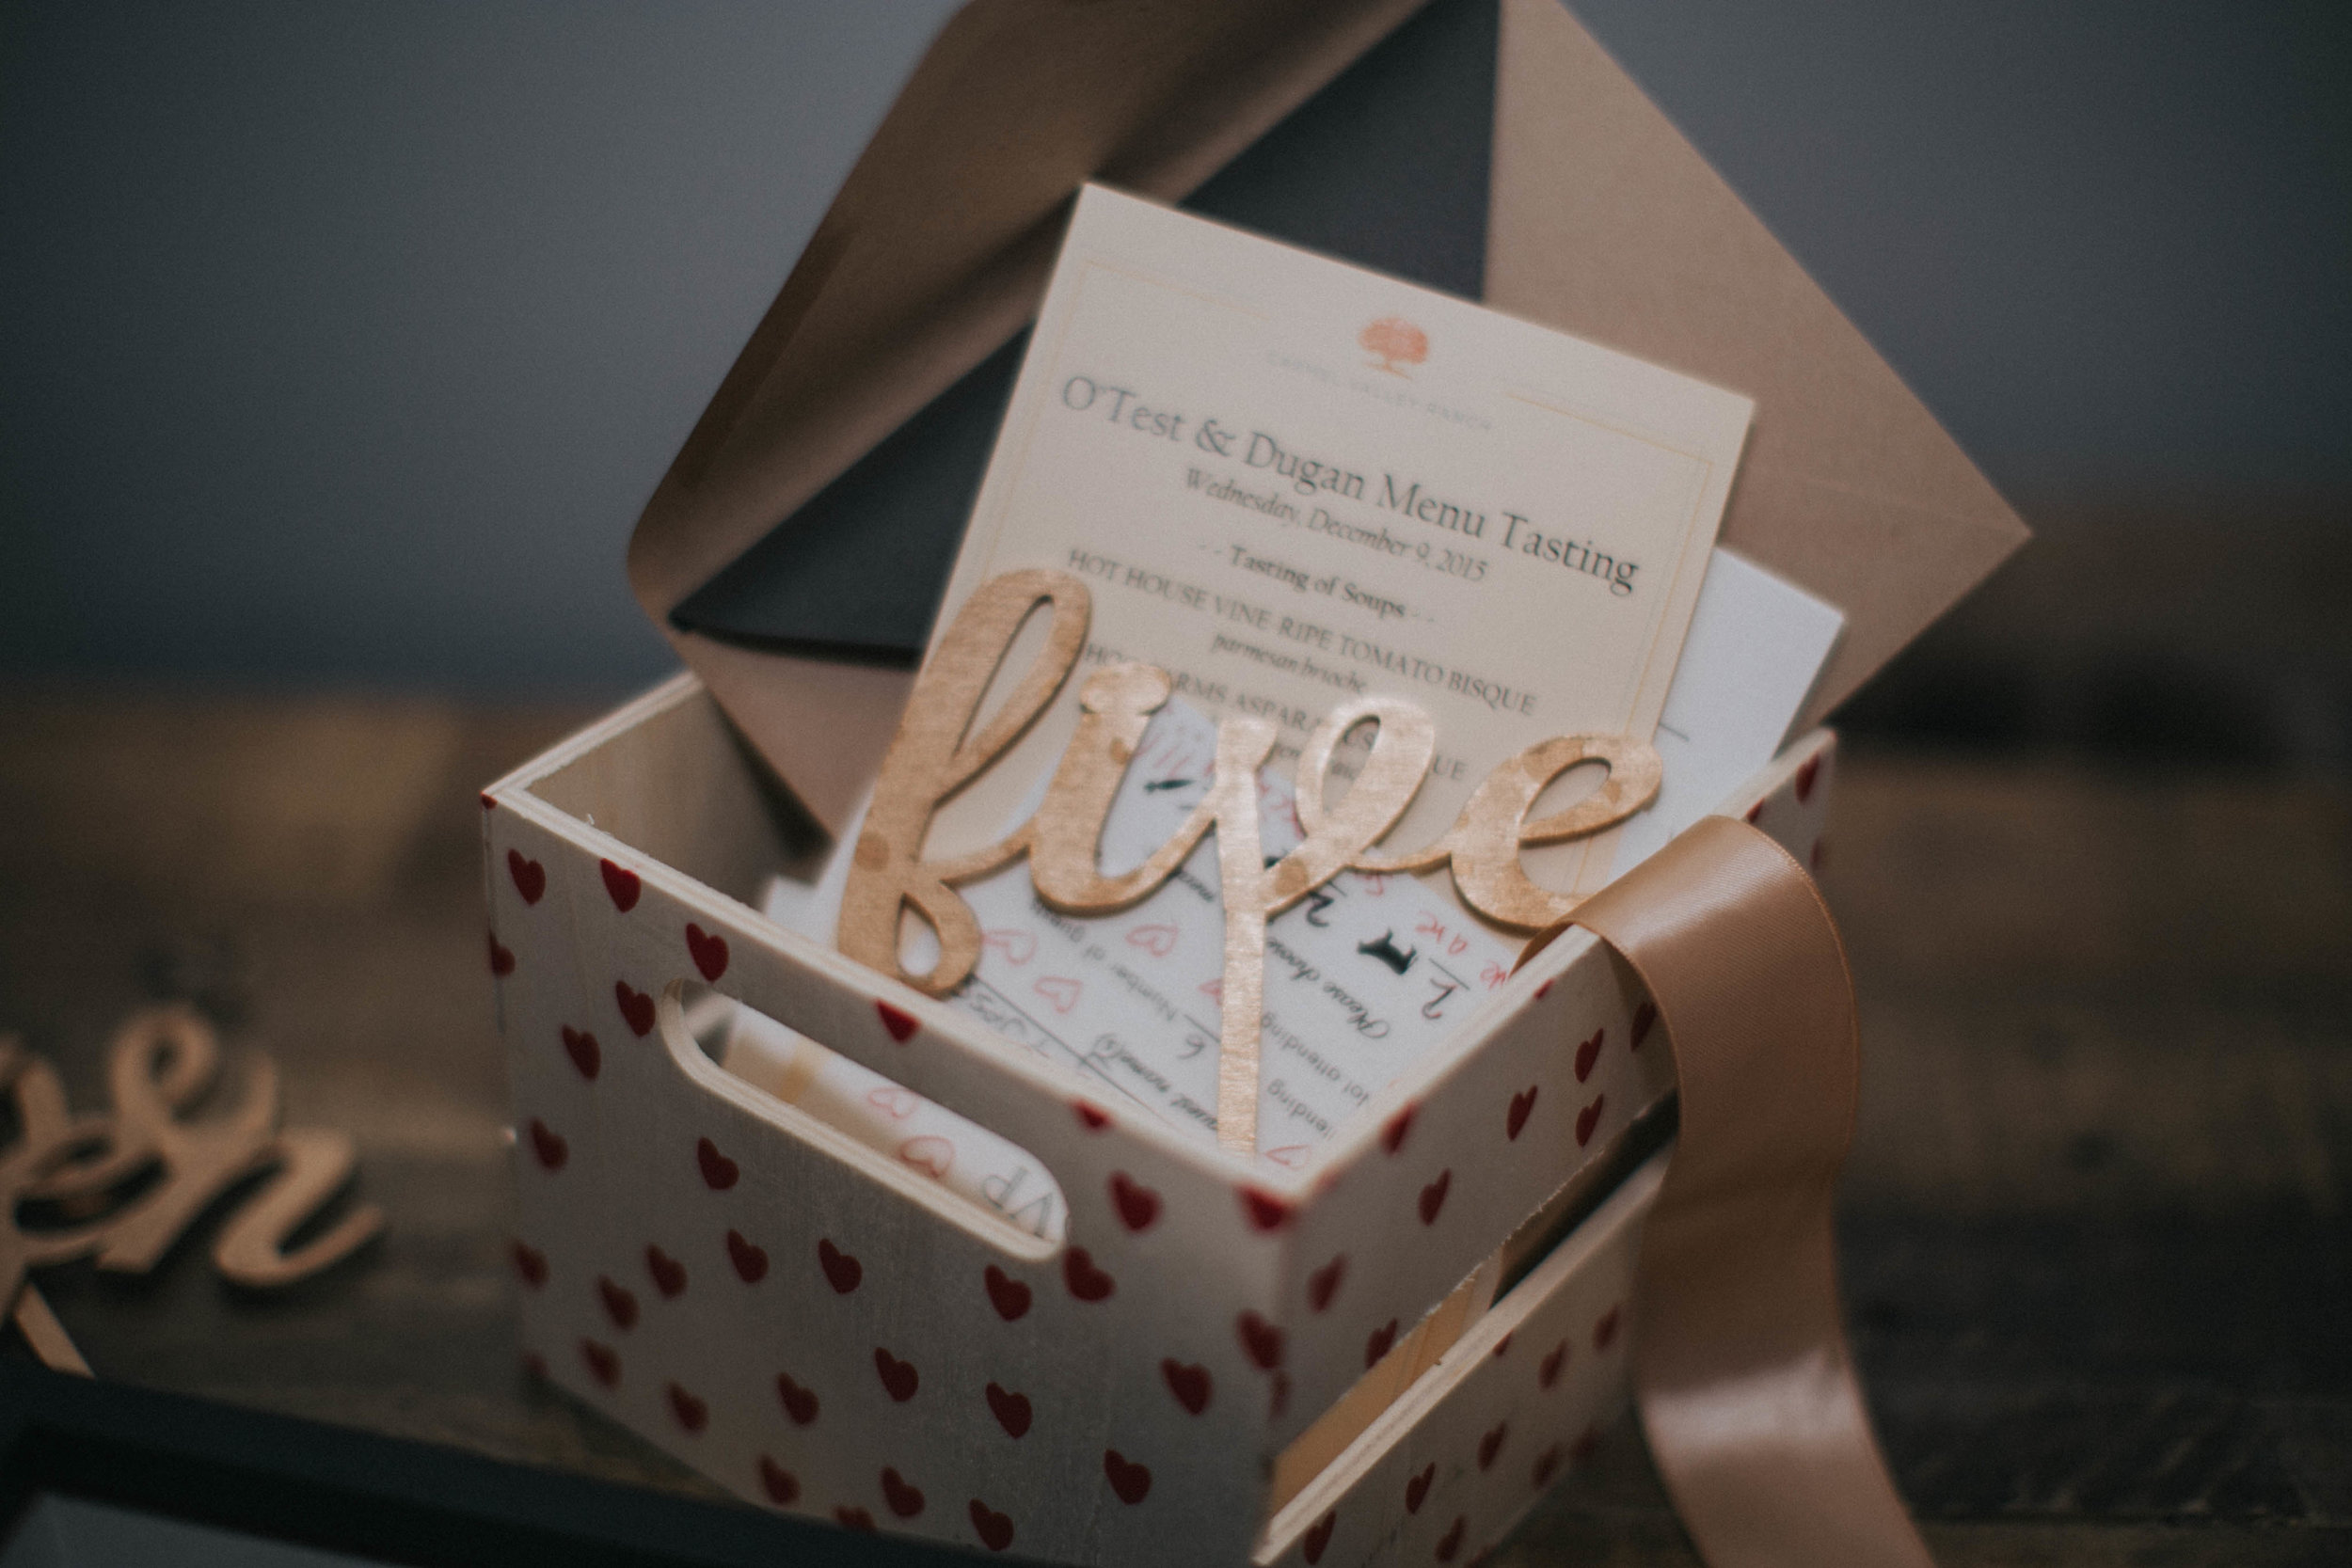
- Cake topper - Zilvi. An adorable Australian company that focuses on children's designs. I not-so-secretly used their multi-word cake topper for our wedding instead!
- Flowers - Bonny Doon Garden Company. Teresa is heaven-sent! Out of all things wedding, I am least knowledgeable about flowers, but somehow Teresa took my Pinterest board and my nonsensical ramblings and created gorgeous floral pieces that perfectly complemented our style.
- Invitations - Paper Source. We chose a really classic and simple design - the Vintage Floral Wedding Invitation set - because my hubs is a classy guy. With it, we chose a craft paper envelope and black liner. It turned out beautifully!
- Thank You cards - Artifact Uprising. This is hands-down my absolute favorite printer for anything to do with photos. They're a bit on the pricier side, but the quality is incredible. We used the Hand-Lettered Thank You Card template, and absolutely loved it. It actually looks like real hand-lettering!
- Vow books - paperpunched on Etsy. Super cute, personalized little vow books with a metallic gold heart. I really wanted to write and read off our vows from something special, and these were perfect. I definitely cried all through reading my vows.
- Table numbers and ring boxes - DownInTheBoondocks on Etsy. The ring boxes were ADORABLE, with a little buck and doe. I ended up painting the table numbers with gold to make them pop even more, but the wood lettering was gorgeous.
- Gold metallic washi tape - Cwlcrafts on Etsy. I bought multiple metallic gold designs, and this tape is super high quality. I used it to tape our invitation envelopes and anything else that needed taping!
- Wedding stamp - VonnLouDESIGNS on Etsy. I used the stamp on our invitation envelopes, as well as on the gift bags. Super cute touch to customize everything!
DIY:
- Hand-painted watercolor escort cards - It was really difficult to make them look exactly like they did in the tutorial, but they were generally easy and fun to make when I made them my own.
- Tissue poms - these were super easy to make and looked so great! Much cheaper option than buying pre-made, and a really fun group activity.
- Gold glitter Mr. & Mrs. sign - I was super intimidated by this tutorial, but it was actually really easy to follow (although messy - watch out, glitter sticks to everything!). I love how these turned out.
- Lace paper petal confetti cones - I actually purchased lace doilies and made these myself. I first made a template out of heavy-weight paper, and draped the doilies over it to make it easier to get them into the correct shape.
- Fail: flower letters - I couldn't find the right color flowers, so these ended up not looking very wedding-like, but more tropical paradise. Ouch.
- Fail: macaron pop covers - I printed these and had them cut up and ready to go, but we decided last minute that it would take too long to put them on the individual macarons. Really cute idea though!
- Check out my full wedding DIY Pinterest board for more fun ideas.
Vendors not pictured:
- DJ/VJ - DJ Logan from Sound in Motion. Logan was seriously the best - a young guy with a ton of enthusiasm for love. He followed strict rules from me (yes, my bridezilla is showing) about what songs to play, and kept our wedding exciting and energized all the way through.
- Venue - Carmel Valley Ranch. Hands down the best venue we could've ever envisioned. A gorgeous secluded resort in the mountains of Carmel (near Monterey). They did the catering, makeup and hair, full setup and breakdown, and provided a day-of coordinator who was a miracle worker. We also stayed in one of their suites, with an incredible balcony and tub overlooking the mountains.
- Cake - Pure Bliss Baking Co. Sara was super sweet and easy to work with. She had never done gold foil on a naked cake before, but she did it for us and it came out looking absolutely gorgeous.
- Wedding gown - Bo Lee Bridal. I can't say enough good things about this salon! They really took care of me after a bad situation with a different bridal designer. I had to get my dress last minute, and not only did they help me through that stressful process, but they actually got my dress to me early so I had more time to tailor. Forever grateful!
- Groom's suit - ASOS. Brad loves this company! They have affordable high-quality suits in a skinny fit that's perfect for his body type. He looked so dapper in the Herringbone Grey suit with brown buttons on the vest. (Can I also point out this amazing flower-patterned suit, which has nothing to do with our wedding, but is just so damn lit!).
- Illustrated guest book alternative - kathrynselbert on Etsy. I actually saw this at a friend's wedding and fell in love. Guest books have always felt too old-fashioned for me, and this was the perfect alternative to still allow our guests to leave us a note, but to do so on a gorgeous piece of custom art that we were able to hang on our wall. You send Kathryn photos of yourselves, and she draws adorable cartoon versions of you! She was so on-point, she even drew my tattoo sleeve! I had to keep the image hidden from Brad so he wouldn't see what my dress looked like (it was that realistic).
- Wedding hangers - hangersbyMae on Etsy. These were really gorgeous and well-crafted. I ordered personalized hangers for myself and all of my bridesmaids. Everyone loved them.
- 40-inch LOVE balloons - supplyandco on Etsy. These balloons were huge and looked amazing behind the cake.
- Metallic gold and pink custom totes - ThreeTwo1 on Etsy. I got custom totes for family members on both sides, and everyone loved them. Really good, thick quality.
- Printable envelope template - StudioNellcoteDesign on Etsy. Hand-made calligraphy is super expensive, so we opted for this awesome template for our envelopes. It was easy to print out, and looked really high-end.
It's ironic that now that I've been through this whole wedding planning process, I actually know how to do it. So if you're in the middle of wedding planning and have any questions, don't hesitate to reach out. It's a crazy and amazing process and you don't have to do it alone! <3
